To achieve this custom feature we will use very interesting and effective trick. It will not affect default wp-admin search. We will just enrich it by adding special case.
In order not to affect default search let’s set a rule when we search by meta field.
In my case, i am setting such rule. I will use # prefix when i want to find a post by meta field.
For example,
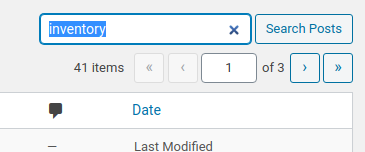
if i type “inventory” and press enter, default WP-Admin search would work.
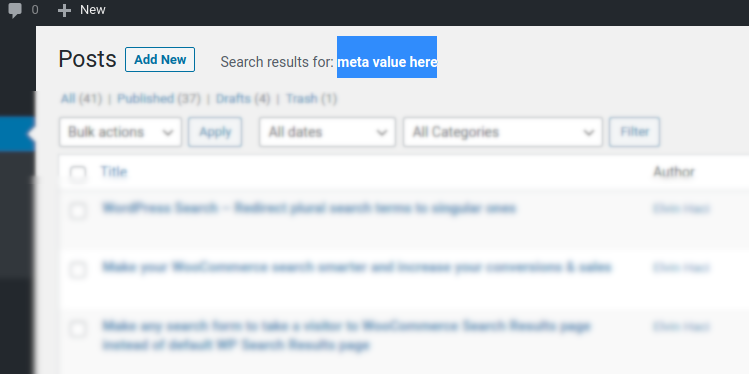
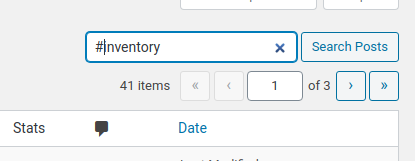
And if i type “#inventory” and press enter, it will look up into meta fields and show results by that data. Which is cool.
Now let me share small snippet which will bring this feature into your website wp-admin.
Continue reading “How to find posts by meta field inside your WP-Admin”